Simple Steps for Building an Affordable Website
In this article I will show you how to create a basic website using Vercel to host your site.
The main reason why I want to show people this is because of 1 thing:
Money.
These days there are a ton of “build your own website”…. websites that will make a beautiful custom site for you, but my broke ass can’t afford to be spending the monthly fees they charge. I live in South Africa so here are our rates:
Wordpress: — — — — R74 per month
Wix: — — — — — — — R84 per month
SquareSpace: — — — R300 per month
Vercel:  — — — — — FREE
Domain:  — — — — — +-R100 per year
You can see that Vercel is far cheaper! And not only that, but it is also really easy. The steps are:
- Purchase a Domain
- Choose a Template
- Update it to act like you want
- Add it to a Git Repo
- Setup a Vercel project
- Link the Domain to the Vercel project
Purchase a Domain
There are multiple places to purchase Domains, and they vary based on the country you live in. I like to use GoDaddy as it is pretty cheap and easy to setup.
How to purchase:
Visit the domain purchasing website of your preference and check the availability of the desired domain.
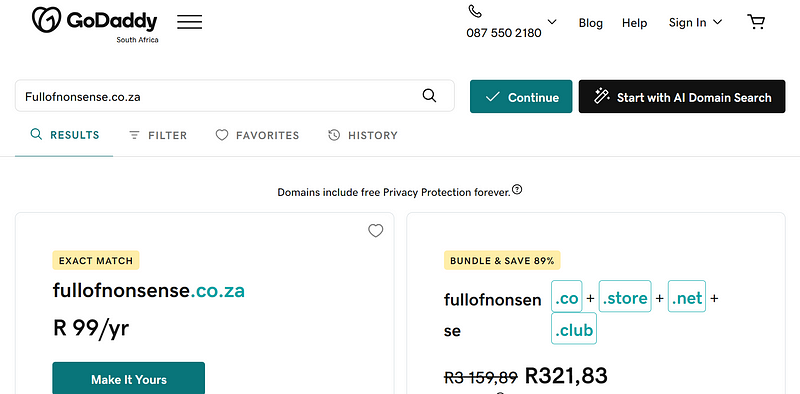
As you can see in the screenshot I just went to GoDaddy and searched if the domain was available.
Note: .com’s would be more expensive than your local domain ending (In South Africa, that is .co.za)
Cool! Now add it to your cart and buy the sucker!
Congrats, you now own that domain.
Choose a Template
You can search the internet for Templates that suit your needs on Google.
I will be typing: “Nextjs templates” into Google and looking for a free template that matches what I want the website to look and function like.
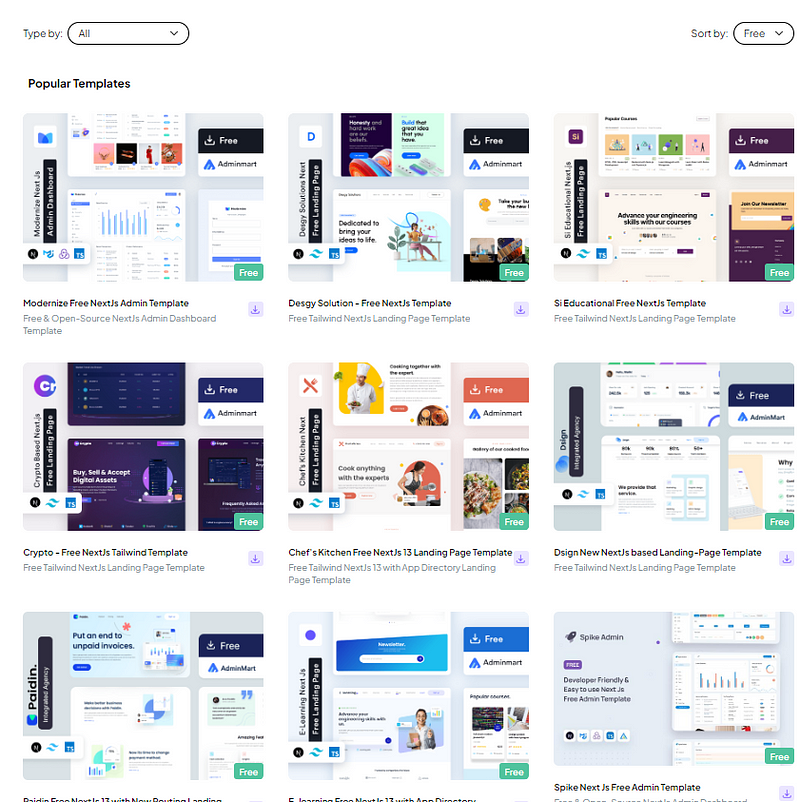
When you find the Template you want to use, it will give you the installation instructions on it.
When it asks you to input a command you will want to open up a code editor, I recommend Visual Studio Code.
In VS Code you can navigate to the top navbar Terminal->New Terminal

When clicked it will open up the Terminal at the bottom of VS Code. Here is where you want to input the commands the Template gives you.

You will probably want to create a new folder where the Project will run, do this like you would normally create a folder on your PC. Then in the terminal navigate to the created folder using cd (change directory) commands. How to use basic Command Prompts
Update it to act like you want
This step requires you to update the code as you need or even if you need. Hopefully the template just works out the box for you.
Add it to a Git Repo
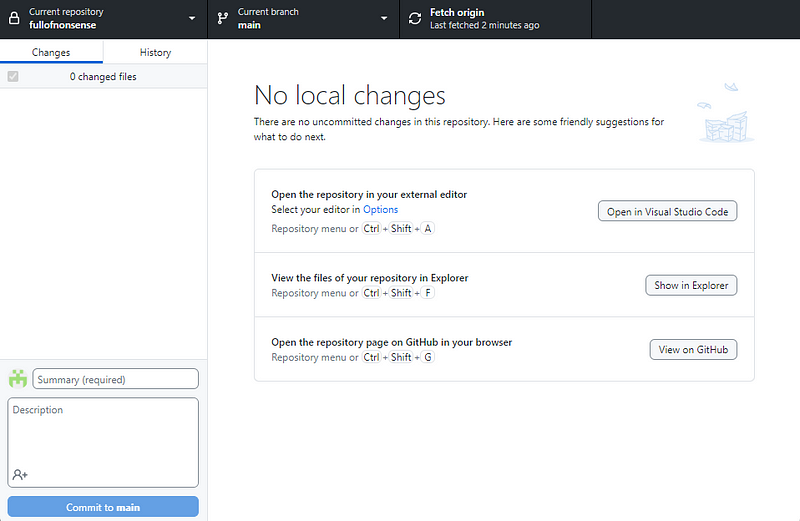
Add the code to the a GitHub repository.

I’m using Github desktop here but there are plenty of repository management tools.
Setup a Vercel project
Create a Vercel profile and it hook it up to your GitHub.
First create your account on Vercel.
Second, link your account to your Github. You should see your repositories that you created.
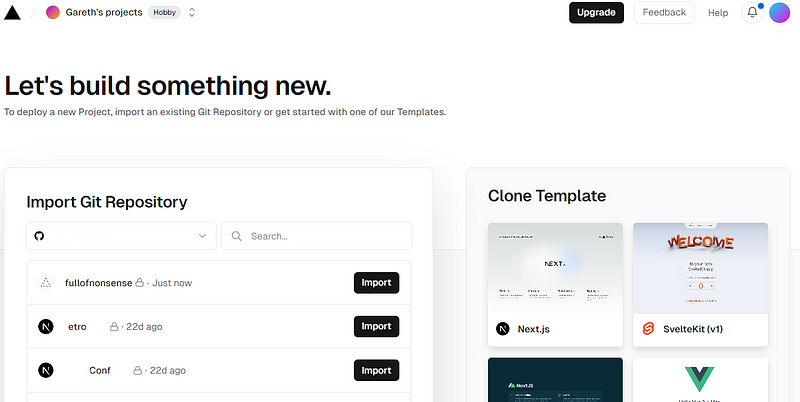
Select your website repository — in my case it would be fullofnonsense. It will take you to the next screen where you can add your environment variables if you have any, and from there you can click the Deploy button.
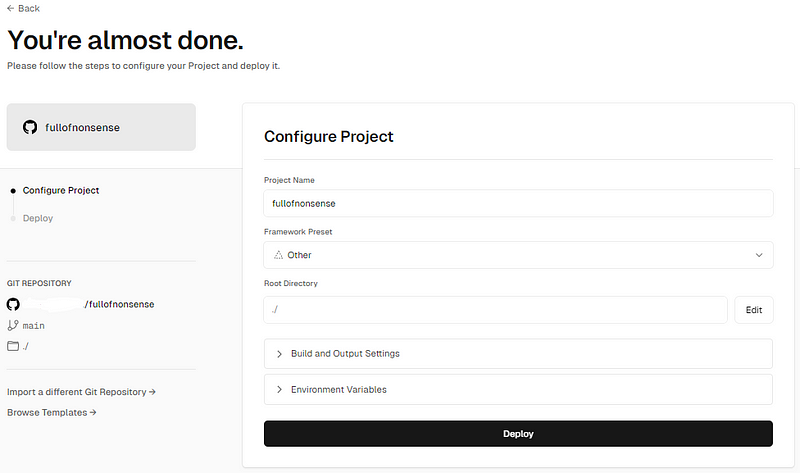
This will launch your website straight to the internet and you will now have a live site. Although it wont be using your domain that you purchased yet — that's the last step.
Link the Domain to the Vercel project
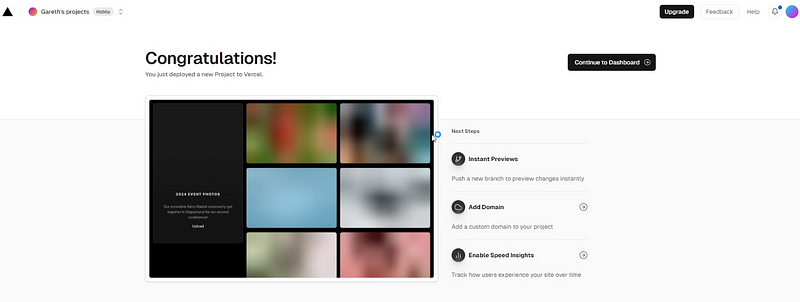
On Vercel, the next thing you want to do is to click on the Add Domain button on the screen above.
Enter in your domain (eg: fullofnonsense.co.za) in the search bar and click the Add button. A modal should popup like this:
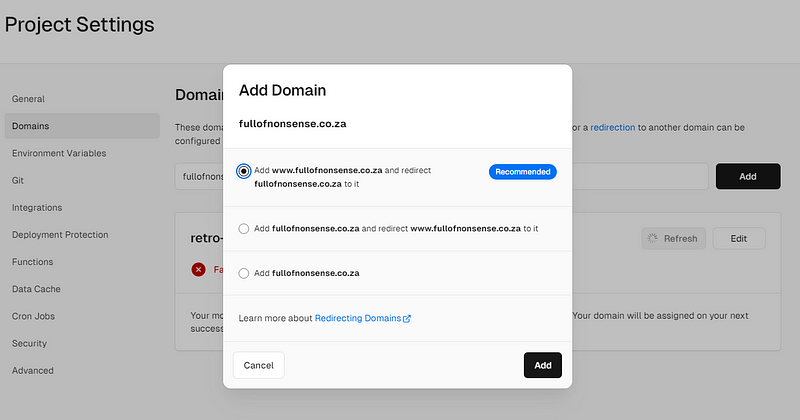
I suggest going for the recommended one. Click the Add button.
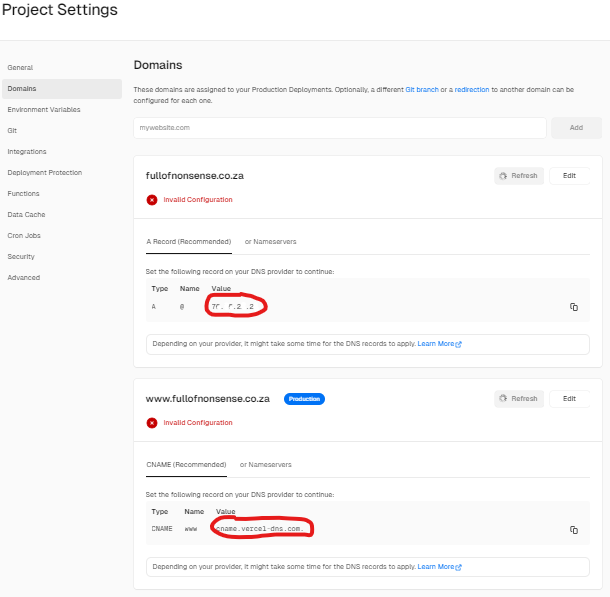
Copy the values for the 2 types: A and CNAME.
We will now go back into the site where you purchased your domain; in my case GoDaddy.
Go to your domain dashboard and look for a DNS area. Here we will paste the copied values to your domain’s matching type values: A and CNAME. This links this Vercel project with your purchased domain.
If all is done correctly your Vercel project will now be using your purchased domain, and your site will be up and running.
Good Luck!

